
Metal wall letters are a popular choice for home and business decor due to their versatility and charm. These letters are made from various high-quality metals, giving them a powerful and modern look. They can be customized to spell out business or government facility names and taglines, making them a unique and powerful signage addition to any space.
Whether used in a wholesale distributor building, a manufacturing firm, or an office building, metal wall letters are sure to catch the eye and make a statement of power and solidity of any company. With a variety of metals, finishes and fonts to choose from, there are metal wall letters to suit many styles and/or tastes.
Why Metal Letters for Walls?
Metal letters for walls are the perfect choice for anyone looking to add a touch of sophistication and style to their space. Unlike other materials, such as wood or plastic, metal letters have a solid modern look that instantly elevates any business’s appearance. They are durable and long-lasting, and many letters are warranted for the life of your building, ensuring that your investment will stand the test of time. They are also incredibly versatile, able to complement any design style, from industrial to minimalist to elegant. Whether used as a focal point or as part of a gallery wall, they are sure to make a lasting impression on anyone who enters your space.
Different Materials for Metal Letters for Wall
Aluminum: Aluminum is a lightweight and versatile material for metal wall letters. It offers a sleek, modern look and is resistant to rust and corrosion, making it suitable for both indoor and outdoor use.
Brass: Brass is a durable material with a warm, golden hue. It adds a touch of elegance and sophistication to any space and is known for its long-lasting beauty and resistance to tarnish.
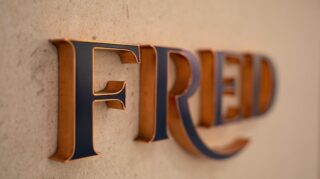
Copper: Copper metal letters have a distinct reddish-brown color that adds a unique and rustic charm to any wall. Over time, in the right conditions, copper may develop a natural blue-green patina that enhances its character and beauty. You can also purchase copper letters with a patina finish if desired.
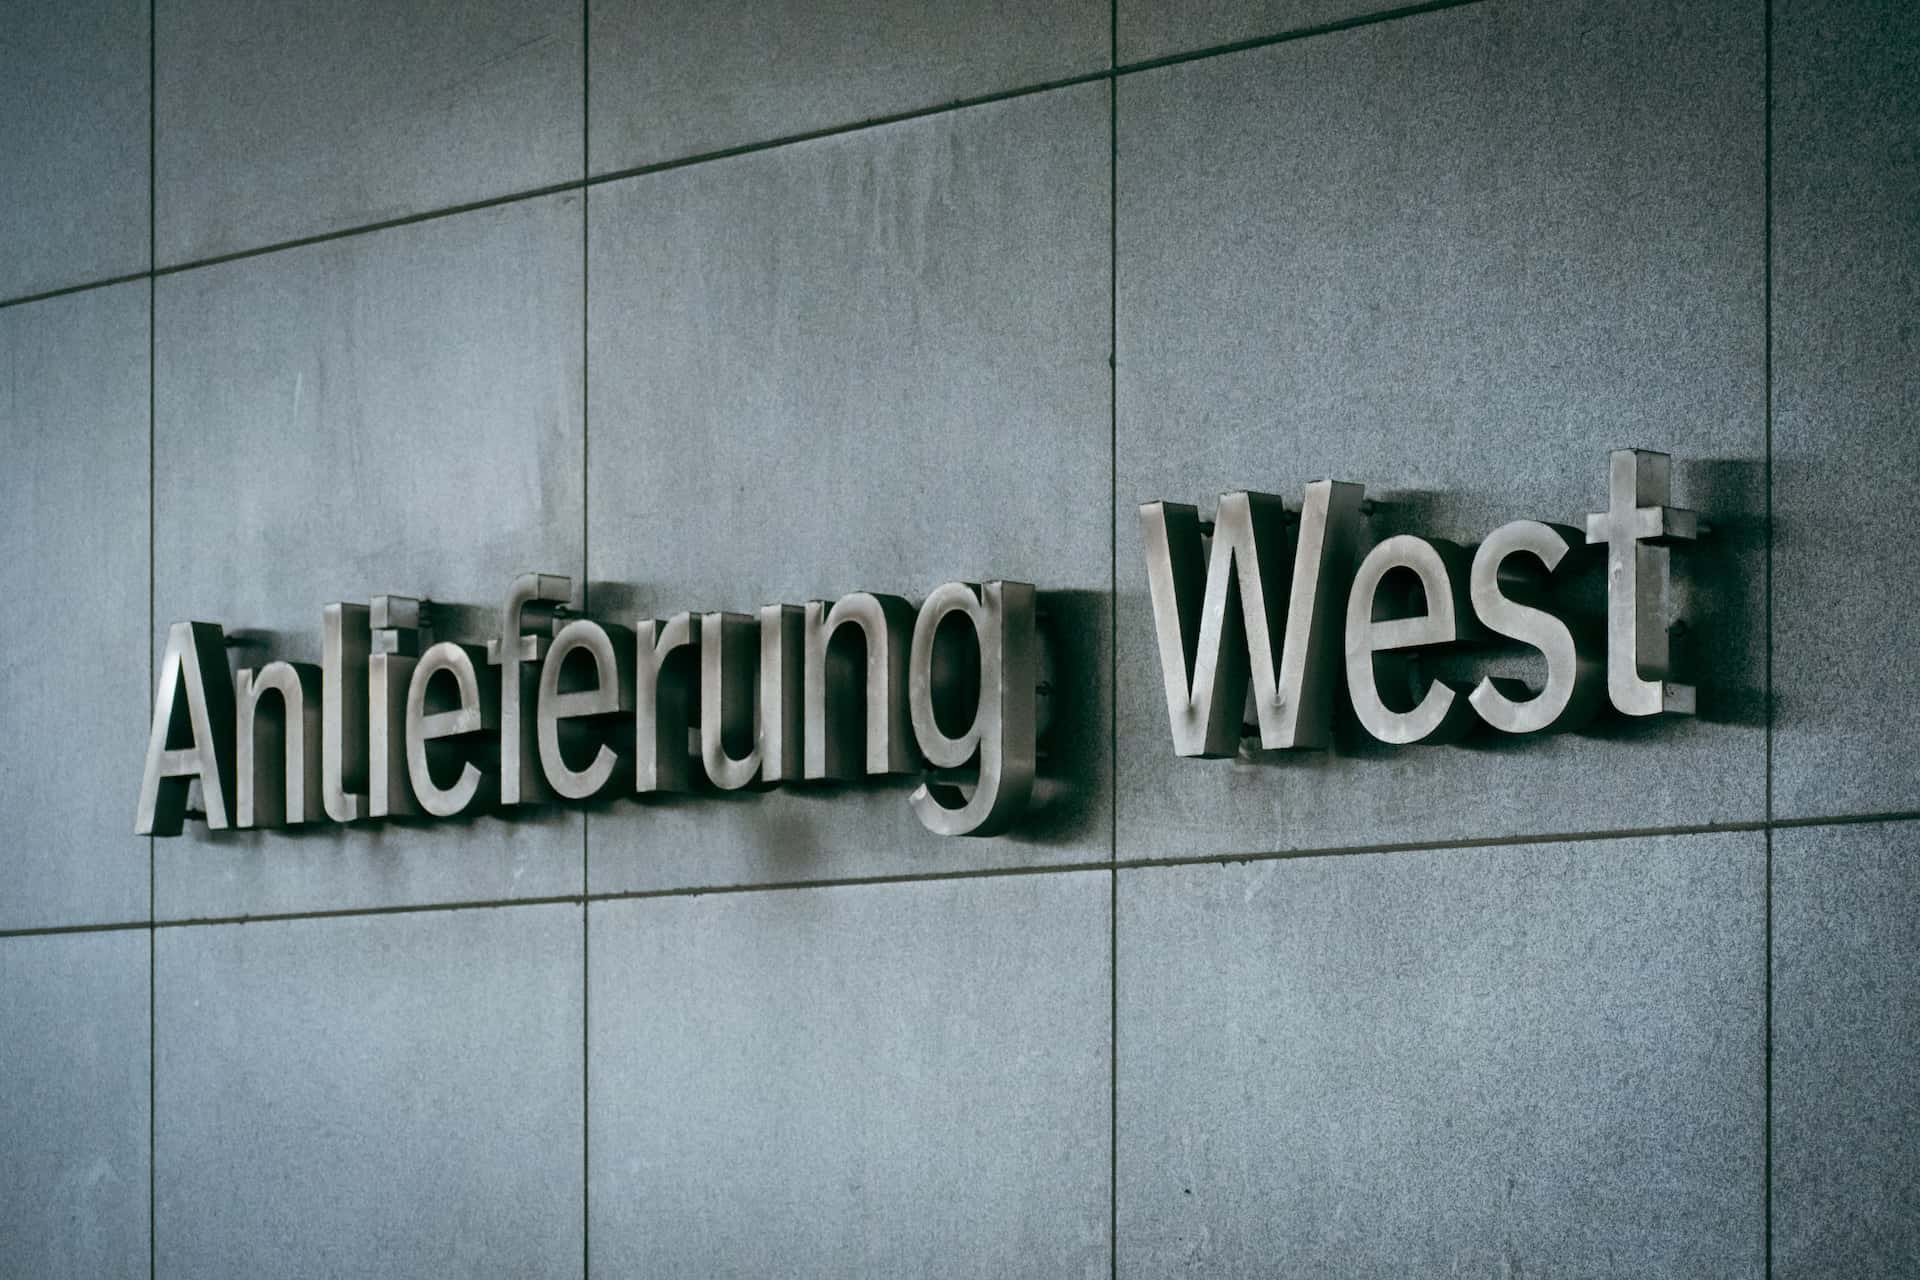 Stainless Steel: Stainless steel is a popular choice for metal wall letters due to its durability and clean, shiny appearance. It is resistant to rust and stains, making it suitable for both indoor and outdoor applications. It is also popular for channel letters – illuminated or non-illuminated.
Galvanized Steel: Galvanized steel is coated with a layer of zinc, providing excellent rust protection. It has a silver-grey, weathered look that adds an industrial and rustic touch to any space. Galvanized steel is typically painted to prevent rust/corrosion.
Bronze: Bronze is a timeless and elegant material that exudes a sense of luxury and permanence, and is a metal that has been used for many millennia. It has a warm, rich color, and its durability ensures that it will maintain its beauty for years to come.
Iron/Steel: Iron letters offer a classic and enduring look. They have a sleek and bold appearance and can be crafted in various styles, from simple and clean to ornate and decorative. Iron letters can be left in their natural finish (read: rustic), or painted for added flair.
Different Finishes for Metal Letters for Wall
Polished: A smooth and reflective finish that adds a sleek and contemporary look to metal letters. It creates a mirror-like surface that enhances the shine of the metal.
Brushed: This finish involves creating fine parallel lines on the metal surface, giving it a subtle texture and a modern appearance.
 Satin: The satin finish provides a smooth and low-luster surface, striking a balance between the shine of a polished finish and matte finishes.
Antique: An antique finish gives the metal letters an aged and weathered appearance. It involves creating an oxidized or patina effect, adding character and a vintage charm to the letters.
Powder Coated: This finish involves applying a dry powder onto the metal surface and then baking it to create a durable and even-colored coating. Powder coating offers a wide range of colors and finishes, including matte, glossy, and textured options.
Painted: Metal letters can be painted in a variety of colors and finishes, allowing for endless customization. Common paint finishes include matte, glossy, metallic, and textured.
Rustic: A rustic finish aims to replicate the appearance of aged and weathered metal. It typically involves distressing techniques or applying special coatings to create a worn look, perfect for adding a vintage or industrial flair to your wall letters.
How Do You Stick Metal Letters to the Wall?
1. Prepare the wall: Ensure that the wall surface is clean, dry, and free from any dust or debris. If needed, use a mild detergent and water to clean the wall and let it dry completely.
2. Position the letters: Determine the desired placement and arrangement of the metal letters mounting pattern on the wall. Use a level to ensure the letter pattern is aligned and level.
3. Mark the wall: Once you have the desired placement, mark the positions of the studs that affix the letters to the wall using a heavy duty black marker. This will serve as a guide for attaching the letters.
 4. Apply adhesive: Depending on the size and weight of the metal letters, choose an appropriate adhesive such as strong epoxy resin for letters over 6” in height, and silicon or epoxy for smaller letters. Follow the manufacturer’s instructions for applying the adhesive.
5. Attach the letters: Press the metal letter studs firmly into the wall at the marked positions, ensuring they are matched to the aforementioned black guide marks. Apply a steady and even amount of pressure to ensure proper adhesion. You will need to work fast or you’ll be mixing more epoxy before you’re done with the project. Most epoxy resins now come with a mixing gun, though, that mixes the epoxy as it is squeezed from the mixing gun.
6. Secure and hold: If needed, use additional support like small nails or hooks to secure the letters in place while the adhesive sets, especially for larger or heavier metal letters. Remove any excess adhesive that may have squeezed out around the edges.
7. Allow to set: Give the adhesive enough time to set and bond the metal letters to the wall, following the recommended drying or curing time mentioned on the adhesive packaging. Avoid putting any weight or pressure on the letters during this time.
8. Check and adjust: Once the adhesive has set, carefully check the letters to ensure they are securely attached and properly aligned. Adjustments at this point should have been made already. We check the letters individually as we install them.
Following these steps will help you successfully affix the metal letters to the wall. It’s essential to follow the instructions provided by the manufacturer of the specific type of adhesive you choose to ensure proper installation and long-lasting attachment.
How to Mount Metal Letters to a Stone Wall
1. Choose a suitable location: Determine the desired location on the stone wall where you want to mount the metal letters. Consider factors such as visibility, readability, and aesthetics.
2. Measure and mark: Measure and mark the positions where you want to mount the metal letters on the stone wall. Use a level and pencil to ensure accuracy and alignment.
 3. Gather the necessary tools and materials: Prepare the tools and materials you’ll need, including a drill, masonry drill bit, screws or anchors suitable for stone walls, a screwdriver, and a tape measure.
4. Drill pilot holes: Using a masonry drill bit, carefully drill pilot holes at the marked positions on the stone wall. Make sure to choose a drill bit size that matches the diameter of the screws or anchors you’re using.
5. Insert anchors or screws: If you’re using screws, insert them directly into the pilot holes and tighten them securely using a screwdriver. If you’re using anchors, insert them into the pilot holes and tap them gently with a hammer until they are snugly in place.
6. Attach brackets or mounting hardware: Depending on the design of your metal letters, you may need to attach brackets or mounting hardware to the stone wall using the screws or anchors. Follow the manufacturer’s instructions or refer to any included mounting hardware.
7. Position and mount the metal letters: Place your metal letters onto the brackets or mounting hardware, ensuring they are aligned and positioned as desired. Secure the letters to the brackets or hardware using any provided screws or fasteners.
8. Check and adjust: Carefully check for proper alignment and stability as you go. Make any necessary adjustments to ensure the letters are straight and securely attached.
By following these steps, you can successfully mount metal letters onto a stone wall. Please note that the specific process may vary depending on the type of stone and mounting hardware you’re using, so always refer to the manufacturer’s instructions for the best results.
How to Mount Metal Letters to a Brick Wall?
1. Choose a suitable location: Determine the desired location on the brick wall where you want to mount the metal letters. Consider factors such as visibility, readability, and aesthetics.
2. Gather the necessary tools and materials: Prepare the tools and materials you’ll need, including a drill, masonry drill bit, or studs suitable for brick walls, a level, and a tape measure.
 3. Position the letters mounting pattern: Determine the desired placement and arrangement of the metal letters mounting pattern on the wall. Use a level to ensure the letter pattern is aligned and level.
4. Mark the wall: Once you have the desired placement, mark the positions of the studs that affix the letters to the wall using a heavy duty black marker. This will serve as a guide for attaching the letters.
5. Drill pilot holes: Using a roto-hammer with a masonry drill bit, carefully drill pilot holes at the marked positions on the brick wall. Make sure to choose a drill bit size that matches the diameter of the screws or anchors you’re using.
6. Attach mounting studs: Attach mounting studs to the back side of the letters.
7. Insert mounting studs into the wall: Squirt the proper amount of epoxy into the holes where the studs go – push the letters/studs to the desired depth.
8. Check and adjust: Once the metal letters are affixed to the wall, carefully check for proper alignment and stability. Make any necessary adjustments to ensure they are straight and securely attached.
By following these steps, you can successfully mount metal letters onto a brick wall. Please note that the specific process may vary depending on the type of brick and mounting hardware you’re using, so always refer to the manufacturer’s instructions for the best results.
How to Mount Metal Letters to a Wall so that they are Removable?
If you want to mount metal letters to a wall in a way that they are removable, you can follow these steps:
1. Clean the wall surface: Begin by cleaning the wall surface where you plan to attach the metal letters. Ensure that the wall is free from any dirt, dust, or grease to promote better adhesion.
2. Choose removable adhesive options: Instead of using permanent adhesives, opt for removable adhesive options such as removable double-sided tape or a silicone adhesive. These types of adhesives are designed to provide temporary bonding while allowing for easy removal without causing damage to the wall.
 3. Position and mark the letters: Determine the desired placement of the metal letters on the wall. Use a level and pencil to mark the positions where you want to attach the letters, ensuring they are aligned and straight.
4. Apply the adhesive: Following the manufacturer’s instructions, apply the adhesive into the pre-drilled holes in the wall. Ensure there is adequate adhesive to promote a strong bond while still allowing for the relatively easy removal.
5. Attach the letters to the wall: Press the metal letters firmly onto the marked positions on the wall. Apply even pressure to ensure proper adhesion with the removable adhesive.
6. Test and adjust: Once the letters are attached, gently tug or nudge them to test their bond. If any letters feel loose, remove them and reapply the adhesive to ensure a secure attachment.
7. Removal: When you want to remove the metal letters from the wall, carefully pry them off with a removal tool like a “cat’s paw” or similar. If any adhesive residue remains on the wall, gently remove it using an adhesive remover or warm soapy water and a wire brush.
By using removable adhesives, you can mount metal letters to a wall in a way that allows for easy removal. This is especially useful if you plan to change the design or relocate the letters in the future without causing significant damage to the wall surface. Always follow the instructions provided by the adhesive manufacturer to ensure the best results.
Can You Spray Paint Metal Letters for Walls?
Yes, you can spray paint on metal letters for the wall. The cleanest way to work is to remove the letters from the wall. Spray painting metal letters is an effective and convenient way to change their color or add a fresh coat of paint for a different look. Before spray painting, it’s essential to properly clean and prepare the metal surface to ensure the paint adheres well. Remove any dirt, oil, or rust by sanding or using a metal cleaner. Use a primer specifically designed for metal surfaces to enhance paint adhesion and provide a smooth base.
Once the primer is dry, use a high-quality spray paint suitable for metal and apply it evenly in thin coats, allowing each coat to dry before applying the next. This will help prevent drips or streaks and achieve a smooth, even finish. Be sure to follow the manufacturer’s instructions on drying times and apply multiple coats if needed. With proper preparation and technique, spray painting can give your metal letters a fresh, new appearance for your wall.
How Long Do Metal Letters for Wall Last?
The lifespan can vary depending on various factors such as the quality of the materials used, environmental conditions, and maintenance. Metal letters, when properly made and maintained, can last for many years. High-quality metal letters made from durable materials like stainless steel or aluminum are often more resistant to rust, corrosion, and fading.
Also, the application of a protective coating or finish can further extend their lifespan by providing additional resistance to weather elements. Our supplier offers a Lifetime Warranty as long as the building is standing and the same company occupies it that purchased the letters. Overall, with proper care and maintenance, they can last for several decades, or longer, providing a long-lasting and visually appealing addition to any space.
Conclusion
Metal letters for wall are a versatile and durable choice for adding a touch of style and personalization to any space. Whether you want to display your company name, create a welcoming entrance, or add decorative elements to your home or office, metal letters provide a timeless and sleek look. Invest in high-quality metal letters, follow installation and maintenance guidelines, and enjoy the long-lasting beauty and impact that metal letters bring to your wall.
 (1 votes, average: 5.00 out of 5)
Popular Posts:

